
I love buying souvenir totes as a reminder of the wonderful travels and experiences I have. These bags usually have bold graphics and fun designs. They are typically made of a single layer of canvas or cotton, are unlined and flimsy. They serve their purpose as a lightweight handy shopper, but I am always disappointed with their longevity.
In this post, I will share how I upgraded three totes to make them more sturdy while preserving/enhancing the graphic.

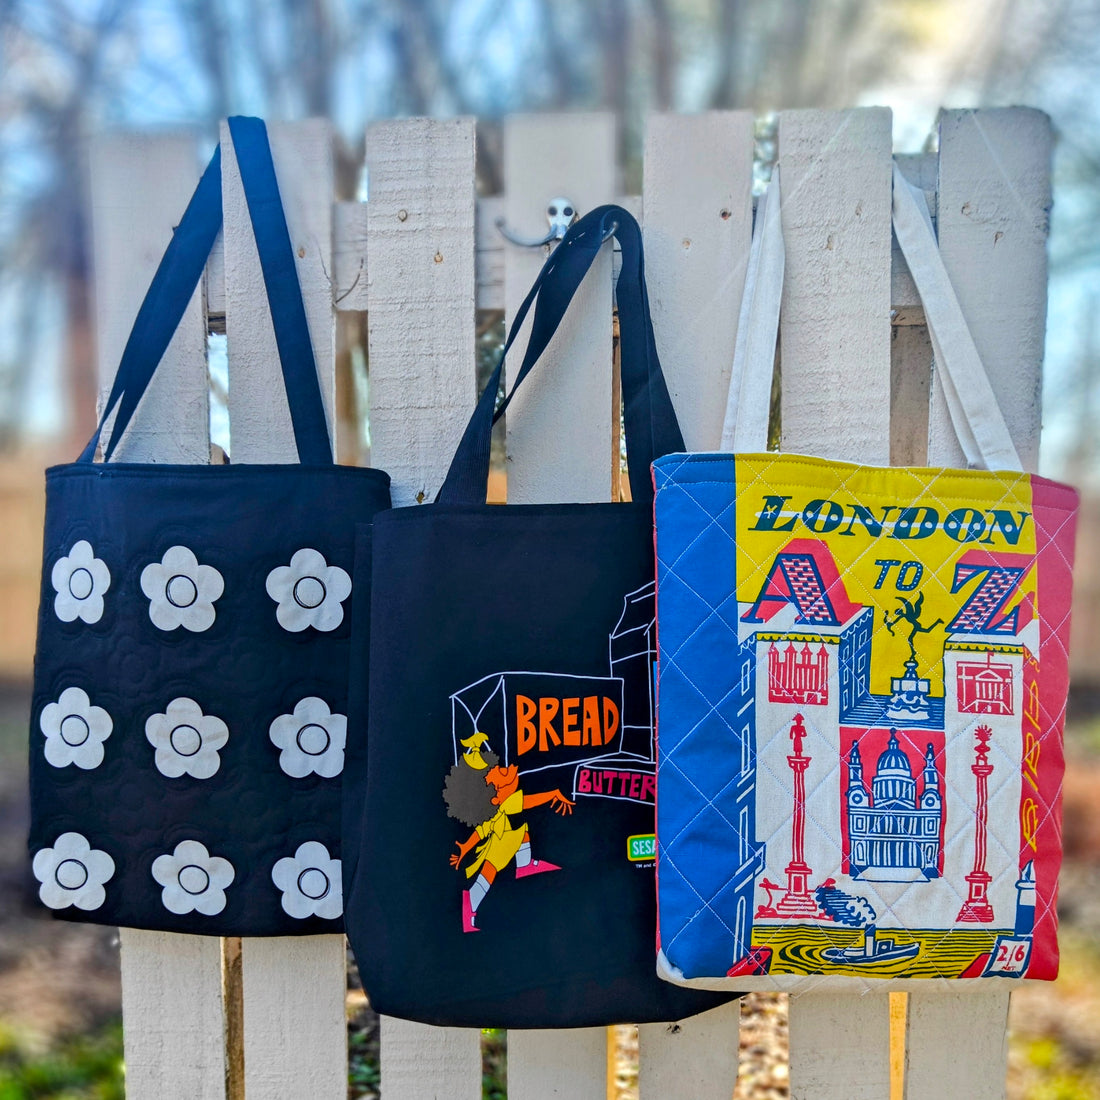
I recently found the most adorable tote bag via an Instagram ad. It had the graphic from a beloved Sesame Street segment I watched as a child. The "I Remember" bag has a cute Afro headed little girl running to the corner store reciting her shopping list. "A loaf of bread, a container of milk, and a stick of butter." I as a child, was always delighted by her song. When I saw the bag, I knew I had to buy one. When it arrived, I saw that it was as cute as I thought, but very flimsy and floppy. I wanted it to have more structure and I knew I had to upgrade it.
In order to give it more stability, I decided to add stabilizer, a lining and new webbed straps. To begin, I had to deconstruct the tote by ripping the side seams and the stitches that created the corner of the bag bottom.
 I used the bag body as the pattern to trace the lining and the medium-weight fusible stabilizer.
 I also applied lightweight stabilizer to the Ikea canvas I used for the bag lining.

Using my Baby Lock Altair sewing machine, I stitched the side seams of the bag and lining with an opening for turning. I then resewed the bag bottom.

I cut the new wider stronger straps to the length of the old ones, and reattached them to the exterior of the bag.

With right sides together and raw edges even, I inserted the bag into the lining. After stitching the top together, I turned the bag right side out and stitched the lining closed.

To keep the the lining from rolling, and to add a little more stability to the straps, I topstitched the perimeter.

The bag top is fairly wide. I wanted the option to pull it in if I chose. I added snaps to the bag exterior. Now, my previously floppy bag, has structure, and a bold pop of color on the inside.

I was so pleased with the result of that bag I decided my other totes needed upgrades as well.

I bought this London A to Z tote at the V&A Museum in London when we visited last year.

For this upgrade, I chose to apply traditional quilting for a little more dimension and structure. I deconstructed the bag as before, and cut headliner 1-in beyond the edge of the bag. I used a heat-erasable pen to draw my quilting lines on the bag front and back. I began quilting from the center of the bag moving to the edge and then repeating on the opposite side.

I used the quilted bag as the pattern to cut a lining and I also cut additional fabric for slide pockets.

I constructed the lining and bag body and finished it as before.

For the final upgrade, I used machine embroidery for a patterned quilted effect.

This Mary Quant bag from the V&A Museum in London, was made of a single layer of canvas. It is very lightweight and floppy.

I deconstructed it removing the straps and the labels.

I mounted the bag with quilt batting into my IQ positioning embroidery frame. The frame allows me to take a photo of the hooped bag that's going to be embroidered so I can accurately position my embroidery motifs.

I planned to freestyle draw the stitch lines on the embroidery screen. Fortunately for me, one of the stored designs on the Altair mimics the iconic Mary Quant flower.

I scaled the flower to echo the printed design. I added a second flower echo and smaller motifs in between the designs. I love how easy it is to duplicate, scale and place the designs.

In a matter of minutes, the designs stitched out.

I like that this technique gives structure to the bag. With black thread, it gives a more subtle impression of the embroidery.

After embroidering, I un-hooped the bag and trimmed the excess batting away.

I used the bag as a template to trace the lining and continued with the bag construction as before.

I love the changes I made to these bags. I love that I will be able to get more use and life out of them.

With this project, I am excited to have the option of using the embroidery features for quilting moving forward.
Happy Sewing,
Bianca